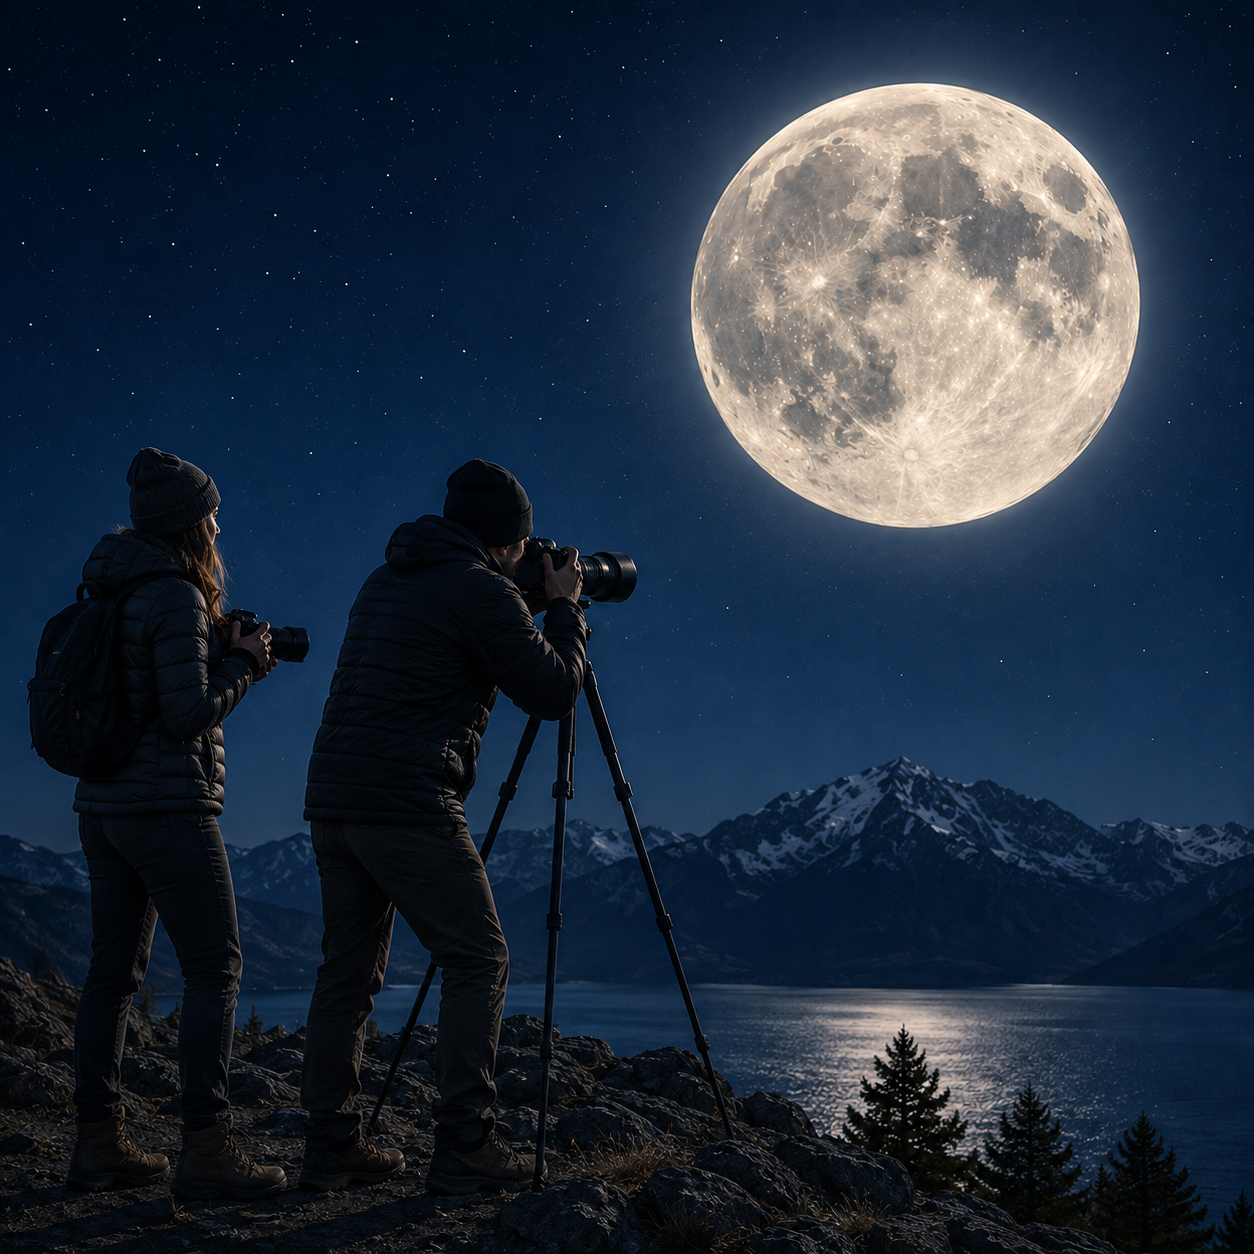
Learn how to photograph the Moon with sharper detail, better exposure, and simple techniques for capturing its changing light and texture.
How to Photograph the Moon
Practical Tips for Better Lunar Photos
The Moon is one of the most familiar sights in the night sky, yet it can be surprisingly difficult to photograph well. To our eyes, it may look enormous, bright, textured, and full of detail. Point a camera at it, though, and the result can be a tiny white dot, a blurry blob, or a glowing circle with almost no visible surface features.
The good news is that you do not need expensive professional equipment to take a satisfying Moon photo. A smartphone, a basic digital camera, a telephoto lens, or even a small telescope can all produce good results if you understand a few simple tricks.
Whether you want to capture craters in sharp detail or photograph the Moon rising behind trees and rooftops, these tips will help you get much better results.
Choose the Right Moon Phase
A Full Moon may seem like the obvious time to take pictures, but it is not always the best phase for showing surface detail.
When the Moon is full, sunlight shines almost directly onto the part facing Earth. That means there are fewer long shadows across the lunar surface, so craters and mountains can look flatter than you might expect.
For more dramatic detail, try photographing the Moon when it is crescent, quarter, or gibbous.
The most interesting area is often along the line separating the illuminated portion of the Moon from the darkness. This line is called the terminator. Here, sunlight strikes the lunar landscape at an angle, creating long shadows along crater walls, mountain ridges, valleys, and other features.
Those shadows give the Moon a much more three-dimensional appearance.
The waxing Moon between First Quarter and Full Moon is especially convenient because it is usually visible during the evening, but the waning Moon can produce equally beautiful photographs if you do not mind getting up early.
A Full Moon still has plenty of photographic possibilities. It can be spectacular when photographed rising over a field, forest, building, mountain, or body of water.
Photographing the Moon With a Cell Phone
I remember being so disappointed the first few times I tried to photograph the Moon with my cell phone. It looked huge and beautiful in the sky, with craters and shadows I could clearly see with my own eyes—but on my phone it came out as a tiny, blurry white blob. Even worse, when I tried to photograph a beautiful crescent Moon, the photo barely looked like a crescent at all. It often turned into an overexposed glowing spot with none of that delicate curved shape I had been admiring. I kept thinking, How can it look so incredible to me and so terrible in the photo?
There is actually a reason this happens.
Your phone is trying to photograph two very different things at the same time: a dark night sky and an extremely bright Moon. Automatic camera settings often attempt to brighten the overall scene, which can cause the Moon itself to become badly overexposed.
Start by tapping directly on the Moon on your phone screen. On many phones, this tells the camera where you want it to focus and measure the light.
If your phone allows you to adjust exposure, slide the exposure downward until the bright glow begins to disappear. You may suddenly see the crescent shape return or notice darker markings across the lunar surface.
Try not to rely too heavily on digital zoom. Digital zoom often just enlarges the existing pixels rather than revealing more actual detail. If your phone has a true optical telephoto lens, use that instead.
Keeping the phone steady also makes a big difference. Lean against a wall, brace your arms against something solid, or use a small smartphone tripod.
And take plenty of photos. One may turn out noticeably sharper than the others.
Try a Smartphone Through a Telescope
If you have access to even a small telescope, your phone can capture much more lunar detail.
First, point the telescope toward the Moon and focus it normally through the eyepiece. Once the view looks sharp, carefully position your phone's camera lens directly over the telescope eyepiece.
This sounds easy, but lining everything up can be surprisingly tricky.
The phone camera needs to be centered over the eyepiece. If it moves slightly to one side, the Moon may suddenly disappear from the screen.
Once you have it centered, lower the phone's exposure if necessary and take several photographs.
A smartphone telescope adapter makes this much easier. These inexpensive accessories clamp your phone into position so you do not have to hold it perfectly still with your hands.
This method is called afocal photography, and it is a fun and relatively inexpensive way to photograph lunar craters without buying a specialized astronomy camera.
Photographing the Moon With a Digital Camera
A point-and-shoot camera with good optical zoom, a mirrorless camera, or a DSLR gives you much greater control.
The first thing you will want is focal length.
A lens around 200mm will begin to show recognizable lunar surface features. A 300mm or 400mm lens will make the Moon considerably larger in the frame, while even longer lenses can reveal impressive crater detail.
A tripod is one of the most useful accessories you can have.
At high magnification, tiny movements become very noticeable. Even pressing the shutter button can cause enough vibration to soften the image.
Instead, use your camera's two-second or ten-second self-timer. Press the shutter, remove your hand, and let the camera settle before the picture is taken.
A remote shutter release can accomplish the same thing.
The Moon Is Brighter Than You Think
One of the biggest mistakes beginners make is assuming that the Moon requires a long exposure because it is being photographed at night.
The Moon itself is actually very bright.
Sunlight is shining directly onto its surface, so in many ways you are photographing a sunlit landscape rather than a dark nighttime object.
Start with a relatively low ISO, such as ISO 100 or 200.
Depending on the phase and your equipment, shutter speeds somewhere around 1/125 to 1/500 second can be a useful starting point. Then adjust from there.
If the Moon looks completely white and featureless, your exposure is too bright.
Reduce the exposure until you can see texture, craters, or the familiar darker lunar maria.
Take several photographs at slightly different exposures. This gives you a much better chance of getting one that preserves both the bright and dark details.
Focus Carefully
Autofocus works wonderfully for many everyday subjects, but it can occasionally struggle with the Moon.
If your images keep looking slightly blurry, try switching to manual focus.
If your camera has Live View, display the Moon on the rear screen and magnify the image electronically. Then slowly adjust the focus until the crater edges look as sharp as possible.
Atmospheric conditions also affect sharpness.
When the Moon is low near the horizon, you are looking through more of Earth's atmosphere. Heat, humidity, haze, and moving air can make the image appear to shimmer.
For crisp close-ups, you may get better results after the Moon has climbed higher in the sky.
Don't Forget the Landscape
Not every Moon photograph needs to show the Moon filling the entire frame.
Sometimes the most beautiful photographs include something else in the scene.
Try photographing the Moon above a stand of trees, behind an old barn, beside a church steeple, over a mountain ridge, or reflecting across water.
A distant foreground subject combined with a long telephoto lens can make the Moon appear especially large and dramatic.
These photographs usually require some planning because the Moon rises and sets in slightly different places depending on the date.
If you find a location you like, visit it ahead of time and decide where you want the Moon to appear.
Take More Than One Shot
One of the easiest ways to improve your chances of getting a good Moon photograph is simply to take more pictures.
Do not take one shot and assume you are finished.
Take several images while adjusting exposure, focus, shutter speed, or composition slightly between attempts.
The atmosphere itself is constantly moving, so one photograph may be softer while the next is suddenly much sharper.
Digital photography makes experimentation easy, so use it to your advantage.
Photograph the Moon Throughout the Month
One of the most enjoyable lunar photography projects is to photograph the Moon repeatedly throughout an entire lunar cycle.
A thin crescent looks completely different from a First Quarter Moon. A waxing gibbous Moon reveals different terrain than a waning crescent. Even familiar craters can look different as the angle of sunlight changes.
You begin to notice that the Moon is never really the same from one night to the next.
And that may be one of the best things about photographing it.
The more you try to capture the Moon, the more closely you begin to watch it.
You notice when it rises, where it appears in the sky, how its shape changes, and how shadows move across its surface.
So the next time the Moon catches your attention, grab your camera or your phone and give it another try.
You do not need perfect equipment.
You just need a clear enough sky, a steady camera, a willingness to experiment—and a Moon that is always willing to pose for one more photograph.
Explore related moon tools
Plan your next lunar photo with the Moon Phase Calendar, learn when the moon will be visible with our Moonrise and Moonset guide, and find especially close full moons with the Supermoon Tracker.
Frequently Asked Questions
Do I need a telescope to photograph the Moon?+
No. A smartphone or basic digital camera can capture a recognizable, detailed Moon photo if you adjust the exposure correctly. A telescope or telephoto lens helps you get closer, but it isn't required to get started.
Why does my Moon photo look like a white blob?+
This happens when your camera or phone tries to brighten the whole scene, which overexposes the Moon. Manually lowering the exposure, or tapping directly on the Moon on a phone screen, usually brings the detail back.
What is the best camera setting for photographing the Moon?+
A good starting point is a low ISO (around 100–200) with a relatively fast shutter speed, roughly 1/125 to 1/500 second. Adjust from there until surface detail becomes visible instead of a flat white circle.
Is the Full Moon the best phase to photograph?+
Not necessarily. A Full Moon looks bright and complete, but the flat lighting reduces shadow detail. Crescent, quarter, and gibbous phases often show more texture and depth along the terminator line.
Do I need a tripod?+
It helps a lot, especially at higher zoom levels where small movements become obvious. If you don't have one, bracing your camera or phone against something solid and using a timer can achieve a similar result.
Keep exploring the moon